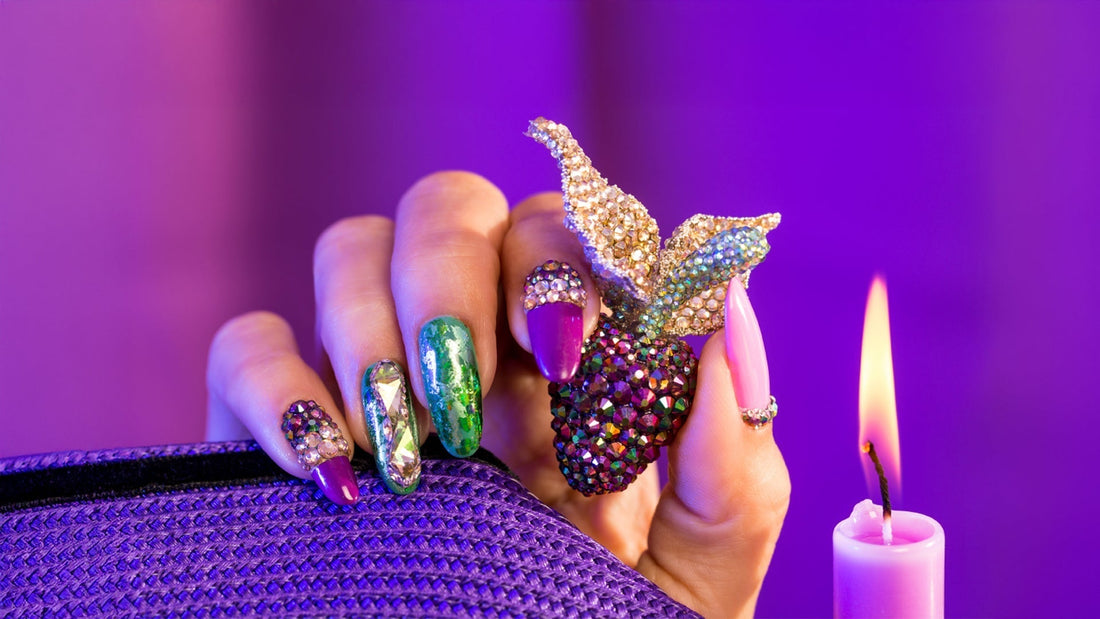
Natural Nails with Rhinestones
Michi BrinkShare
Nails with Gel Lacquer, Foil and Crystal Details.
Reinforce natural nails using the Base & Build line from the Gel Lacquer family, then adorn them with vibrant colors from the BERRY gel paint collection. Accentuate the look with shimmering foils and eye-catching crystals for a show-stopping finish.

Step by step
1. Prep the natural nail: gently remove cuticles and cleanse with Fantasy Nail Prep.
2. Bond: Apply Fantasy Bond for enhanced product adhesion.
3. Reinforce:
• Apply a thin layer of Base & Build Diamond Clear and cure under a UV/LED lamp.
• Follow with a second, thicker layer to build the apex and strengthen the natural nail, then cure again.
4. Shape: Cleanse the nails with Cleanser, file, and buff to achieve the desired shape.
5. Color: Brush on Mulberry on the index and pinky fingers, and Greenberry on the middle and ring fingers, using thin coats (1–2 layers for desired intensity). Cure each layer under the UV/LED lamp.
6. Foil Base: Apply a thin layer of Base & Build Diamond Clear where you want the foil to adhere.
7. Foil Application: Once that layer has cooled, press Holo Green and Pastel Green foils onto the nails.
8. Crystal Details: Attach Swarovski crystals (Kite, Mini Diamonds, Navette) on the ring finger using 3D Fix. Use Stickey to apply Crystals AB Paradise and Champagne on the index and pinky fingers.
9. Top Coat: Seal and protect your design with Flexi Glossy Top, then cure under the UV/LED lamp for a brilliant, lasting shine.
